9 Best Ways to Find MAC Address in Windows 11
The MAC (Media Access Control) address is a unique identifier assigned to network interfaces for communication on a physical network. Knowing your MAC address can be crucial for troubleshooting network issues, setting up MAC address filtering, or diagnosing connectivity problems. In this guide, we’ll explore 9 best Ways to find MAC address in Windows 11, ensuring you have a variety of options at your disposal.
Contents
- 1 What is a MAC Address?
- 2 1. Using the Settings App
- 3 2. Using the Command Prompt
- 4 3. Using PowerShell
- 5 4. Using the Control Panel
- 6 5. Using System Information Tool
- 7 6. Using the Network Adapter Properties
- 8 7. Using Third-Party Tools
- 9 8. Checking Router Settings
- 10 9. Using Network Shell (Netsh)
- 11 Why Knowing Your MAC Address is Important
- 12 Conclusion
What is a MAC Address?
A MAC address is a 12-character alphanumeric code separated by colons or hyphens (e.g., 00:1A:2B:3C:4D:5E). Each device’s MAC address is unique, and it helps in identifying devices on a network. Unlike IP addresses, MAC addresses are hardware-based and remain consistent regardless of network changes. Let us discuss 9 best ways to find MAC Address in Windows 11.
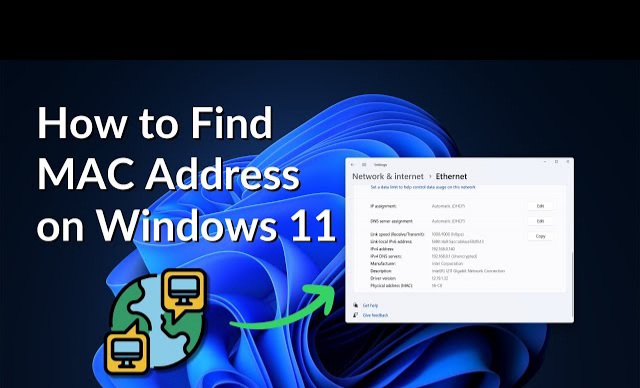
1. Using the Settings App
The Settings app in Windows 11 provides a straightforward way to find the MAC address for your network adapter.
Steps:
1. Open the Settings app by pressing Win + I.
2. Navigate to Network & Internet from the sidebar.
3. Select the network type:
Wi-Fi: Click on Wi-Fi and then on the connected network.
Ethernet: Click on Ethernet and select the connected network.
4. Scroll down to the Physical Address (MAC) section to find your MAC address.This method is quick and ideal for beginners.
2. Using the Command Prompt
Command Prompt offers a powerful way to access system information, including the MAC address.
Steps:
1. Press Win + S and type Command Prompt. Select Run as Administrator to open it.
2. Type the following command and press Enter:
ipconfig /all
3. Look for the Physical Address under the network adapter you’re using (e.g., Ethernet or Wi-Fi).
The MAC address will appear in the format XX-XX-XX-XX-XX-XX.
3. Using PowerShell
PowerShell, a more advanced tool than Command Prompt, can also be used to find the MAC address.
Steps:
1. Press Win + S, type PowerShell, and open it as an administrator.
2. Enter the following command and press Enter:
Get-NetAdapter
3. The MAC addresses of all network adapters will be displayed under the MacAddress column.
This method is particularly useful if you want a clean and concise output.
4. Using the Control Panel
While the Control Panel is slowly being phased out, it still provides a reliable way to locate your MAC address.
Steps:
1. Open the Control Panel by typing Control Panel in the Start menu search bar.
2. Navigate to Network and Sharing Center.
3. Click on your active network connection (Wi-Fi or Ethernet).
4. In the new window, click Details.
5. Look for Physical Address in the list.
This method is a throwback to earlier Windows versions and still works effectively.
5. Using System Information Tool
The System Information tool provides a detailed overview of your hardware and software configurations, including MAC addresses.
Steps:
1. Press Win + R to open the Run dialog box.
2. Type msinfo32 and press Enter.
3. Navigate to Components > Network > Adapter.
4. Scroll through the list to find your active network adapter and its MAC address under the Physical Address field.
This method is excellent for users who want in-depth information about their system.
6. Using the Network Adapter Properties
You can access the MAC address directly from the adapter properties in the Device Manager.
Steps:
1. Press Win + X and select Device Manager.
2. Expand the Network Adapters section.
3. Right-click on your active network adapter and select Properties.
4. Go to the Advanced tab.
5. Select Network Address from the list, and you’ll find the MAC address on the right side.
This method is more technical but gives you direct access to adapter settings.
7. Using Third-Party Tools
Several third-party tools can help you find and manage MAC addresses, such as:
These tools are particularly useful for IT professionals managing multiple devices on a network.
8. Checking Router Settings
If you’re connected to a Wi-Fi network, your MAC address is often visible in the router’s admin panel.
Steps:
1. Open a web browser and type your router’s IP address (e.g., 192.168.1.1) into the address bar.
2. Log in with your router credentials.
3. Navigate to the connected devices section or similar (varies by router brand).
4. Locate your device and its MAC address.
This method is helpful when you cannot access your Windows 11 device but need its MAC address.
9. Using Network Shell (Netsh)
The netsh command is another way to access network information.
Steps:
1. Open Command Prompt as Administrator.
2. Enter the following command and press Enter:
netsh interface ipv4 show interfaces
3. Identify the active interface and its MAC address.
This is a less commonly used method but remains powerful for advanced users.
Why Knowing Your MAC Address is Important
Network Troubleshooting:
Helps identify devices on a network.
MAC Filtering:
Useful for setting up access control on routers.
Device Tracking:
Some services use MAC addresses for tracking devices within a network.
Security Enhancements:
Recognizing authorized devices prevents unauthorized access.
Conclusion
Windows 11 offers a variety of methods to locate your MAC address, catering to users with different levels of technical expertise. Whether you prefer the simplicity of the Settings app or the advanced capabilities of PowerShell, finding your MAC address is straightforward and accessible.
Choose the method that best suits your needs, and remember to safeguard your MAC address to avoid potential misuse. By following this guide, you’ll have all the tools necessary to manage and secure your network connections effectively.
How To Read WhatsApp Message Without The Sender Knowing
How to grow a Youtube Channel in 2025
Share this content:


Post Comment